
In our last tutorial we have gone over the basics of how to make an ambigram. The final step is “vector it”, but of course this step has more to it. Therefore, we will expand on that now in a tutorial dedicated to creating ambigram vectors.
We will be using Adobe Illustrator for this tutorial, but most steps can be done in other software as well.
1. Set up the page
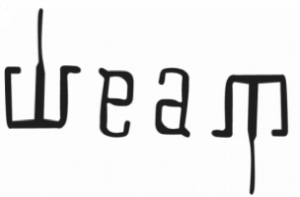 First we need an ambigram to vector, in our case it is the hand drawn version of the ‘dream’ ambigram. Next we will open Adobe Illustrator and create a new page. In this page we will the place our image by clicking ‘File > place > image’ and selecting our file.
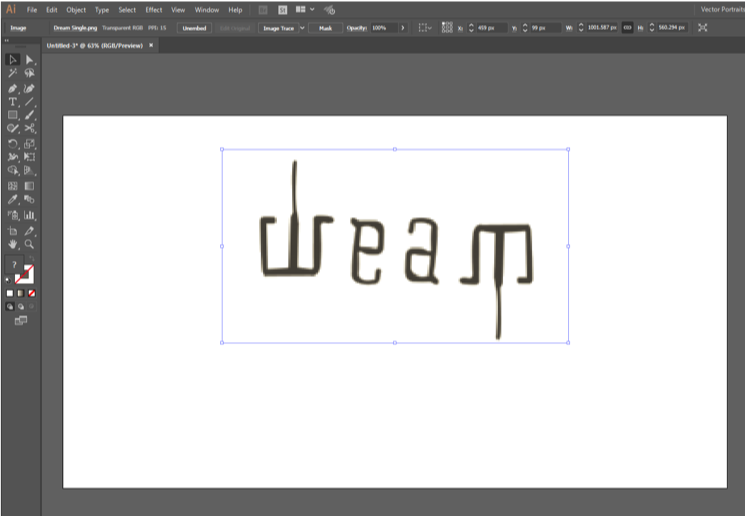 We do not want to change or move this image while creating our vector, therefore we will lock the layer by clicking the ‘lock icon’ in the layer menu.
2. Drawing the ambigram vector
Now that our image has been locked, we have to create a new layer on top of it. This is the layer that we will use to trace our ambigram.
Select the ‘pen tool’ and set a clear ‘fill color’. The stroke color should be something bright and contrasting to the ambigram that we are tracing.
Pick a good starting point for the letter and start drawing.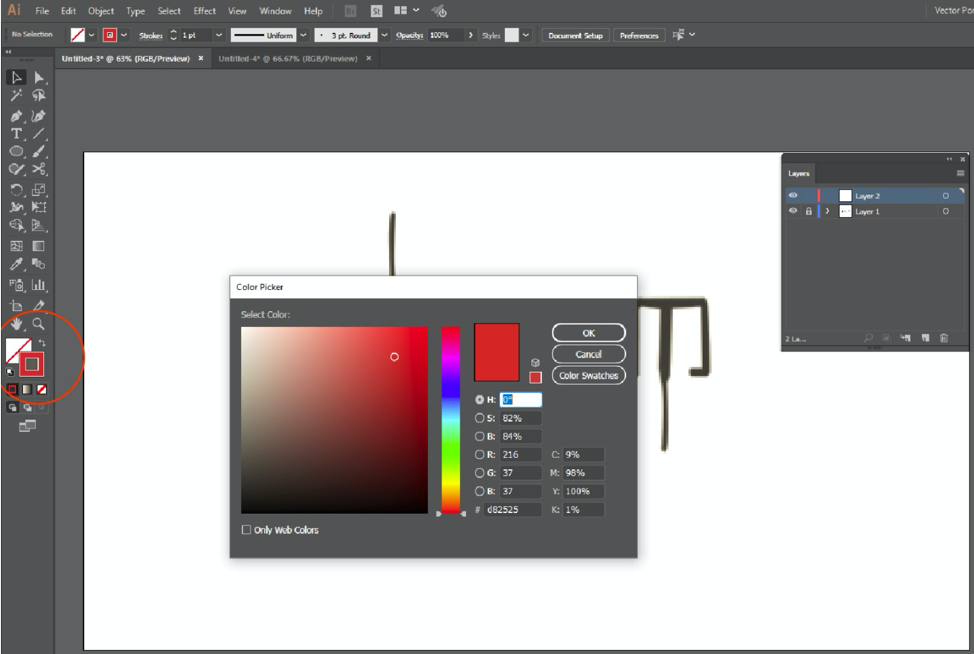
3. Tracing the letters
We start at the top of the ‘d’ and would like to continue tracing the ambigram, but then we will copy any imperfections. Therefore, we need to stray from the path a bit.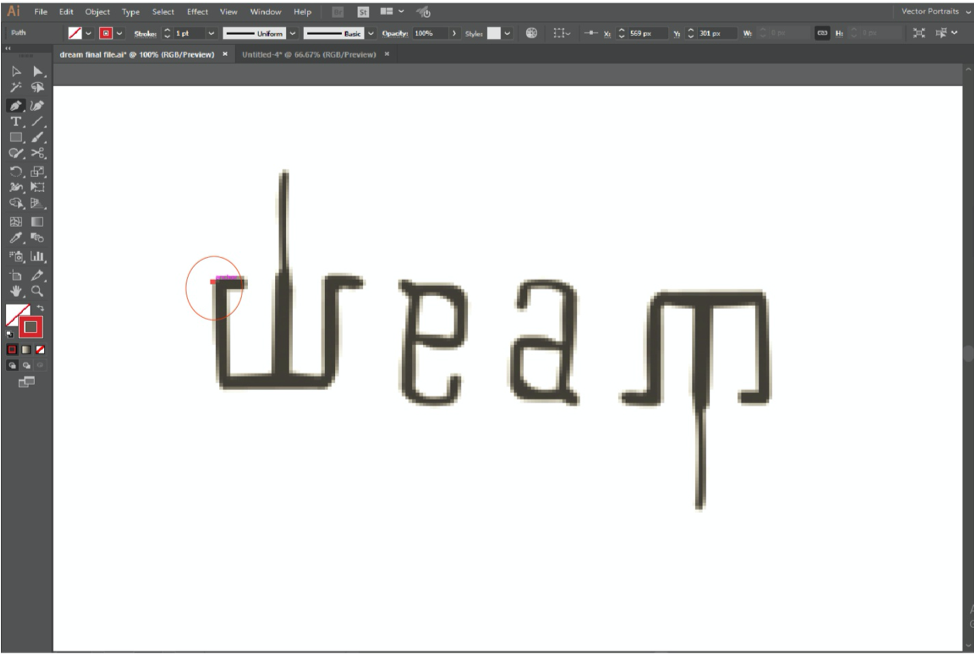
After making first point hold the ‘Shift’ key to create a straight line and drag the cursor downward until the bottom of the letter is reached. Next we need to create a round corner. This is done by clicking and dragging your third point until you see two handles appear.
If you press the shift key again to make them straight. Position the handle in such a way that the curve looks smooth.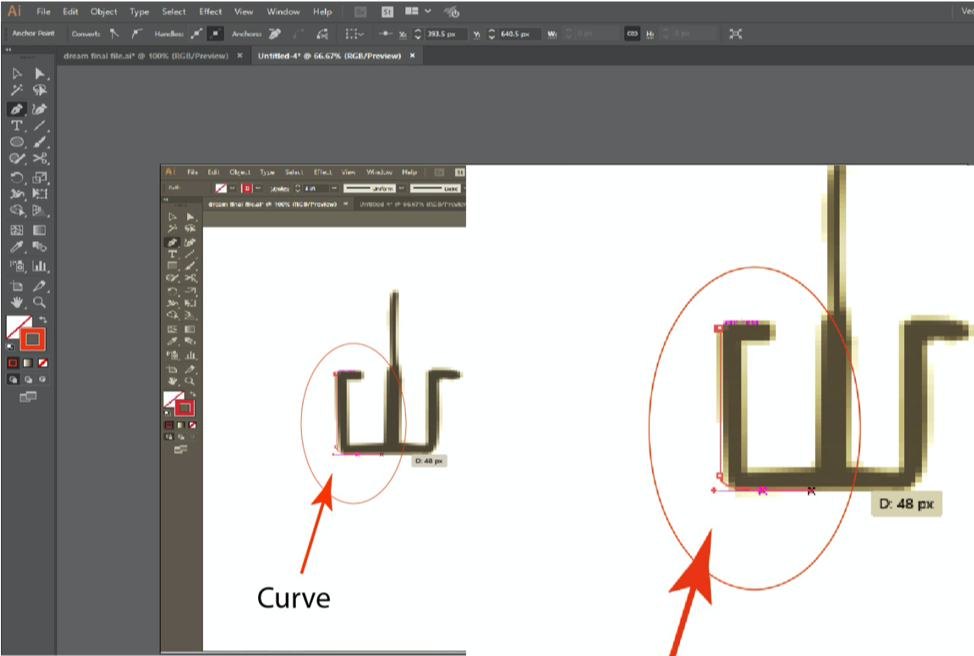
Now continue like this until the entire letter is done. Then move on to the next until you are half way done.
3. The second half of the design.
Once you are half way there, you did most of the work as we can use the designs symmetry. So, start by filling the traced outline to make it more clear. Next, we can use the ‘reflect tool’ to create the second part. We do this by selecting one letter and right clicking it. This will bring up a menu and we select ‘Transform > Reflect’ We do this twice, once for horizontal and once for vertical reflection.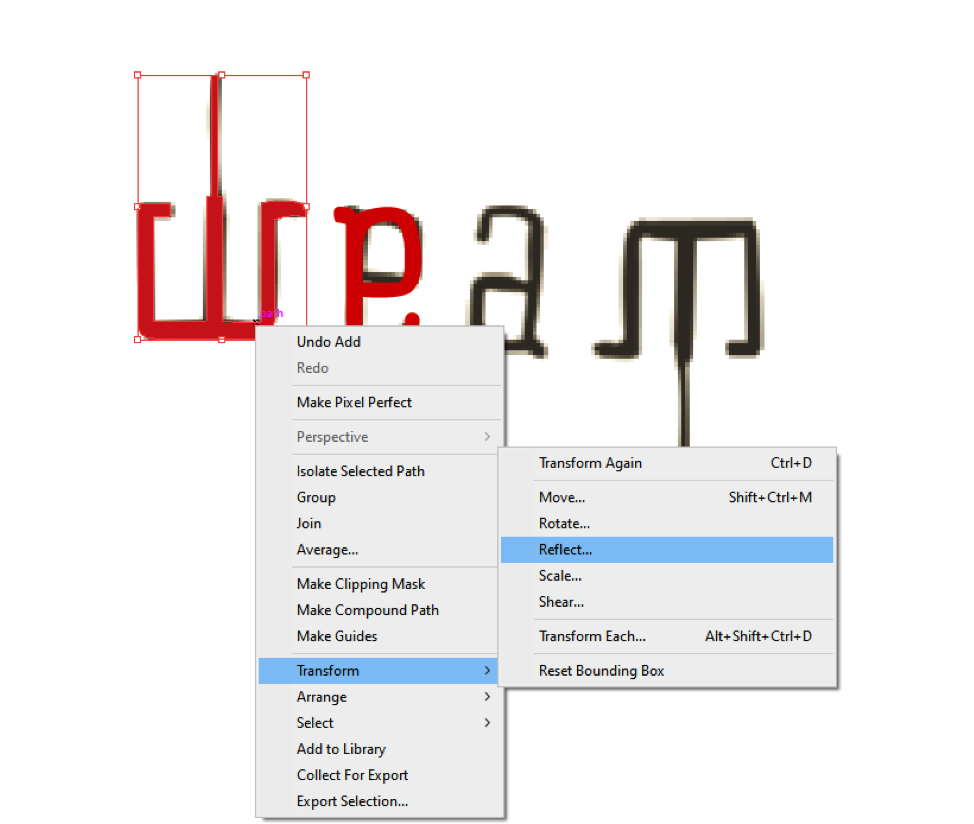
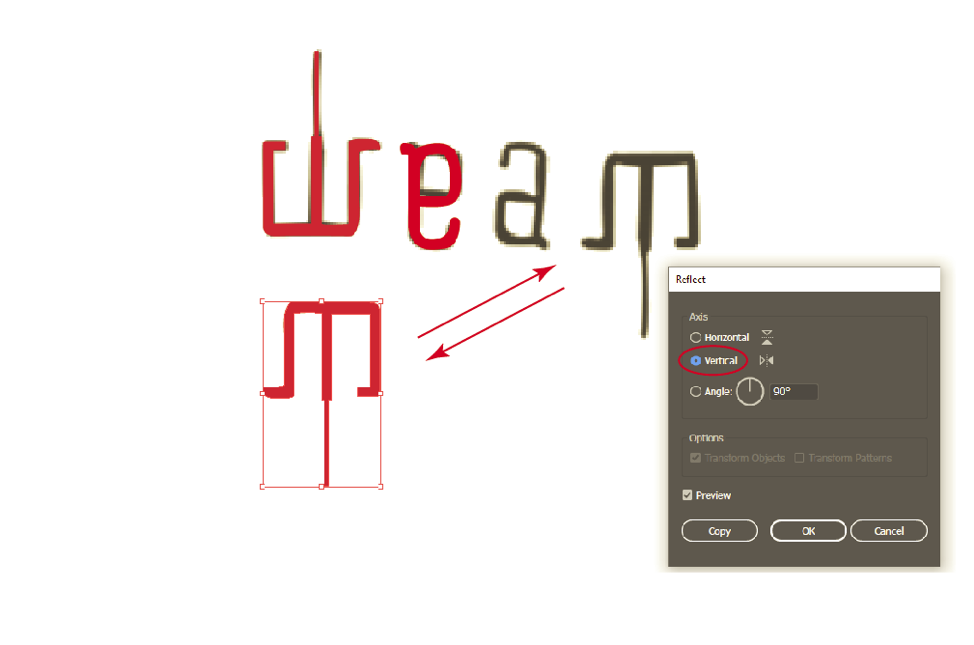 Make sure to click the ‘copy’ button on the first reflection and ‘ok’ on the second. Now all that we have to do is drag the new vectors to their place and we have our ambigram vector.
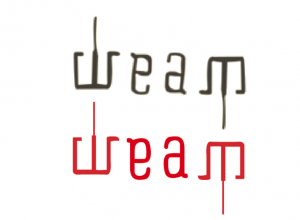 This is the ambigram vector is much cleaner than the hand drawn raster image. If it looks good then we are done. However, in our case the design can clearly use some more work.
4. Tweaking your design
We can use the ‘path finder’ tool to change the shape of our ambigram. For example, we can make the strange stick in the ‘d’ thicker by drawing a rectangle around it. We can also use the transform tool to scale the ‘e’ and ‘a’ until they are the same size as the ‘dr/m’ Now change its color from stroke to fill and combine with path finder tool. Remember to only change the first half of the ambigram, as we will copy it again afterwards.
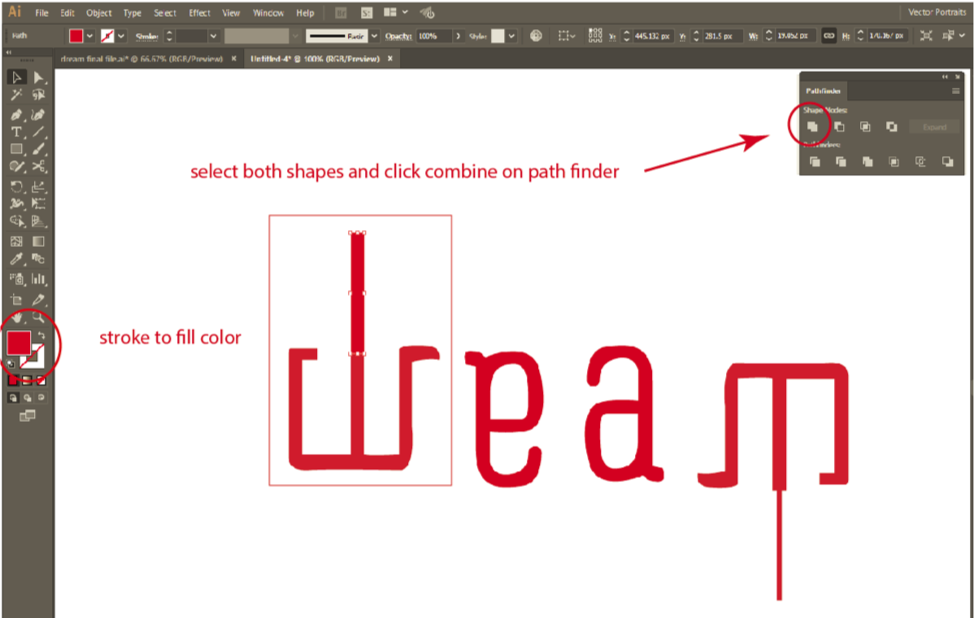
5. Create more curves and serif
We now create a new layers from our tweaked ambigram and redraw it with the pen tool, this time using more curves to create a less blocky design. Usually a design looks better the more curves you make.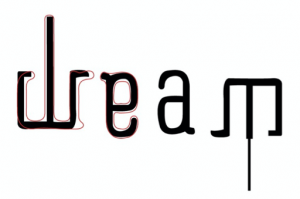 This is how we obtain our final product. Don’t forget to share it online!